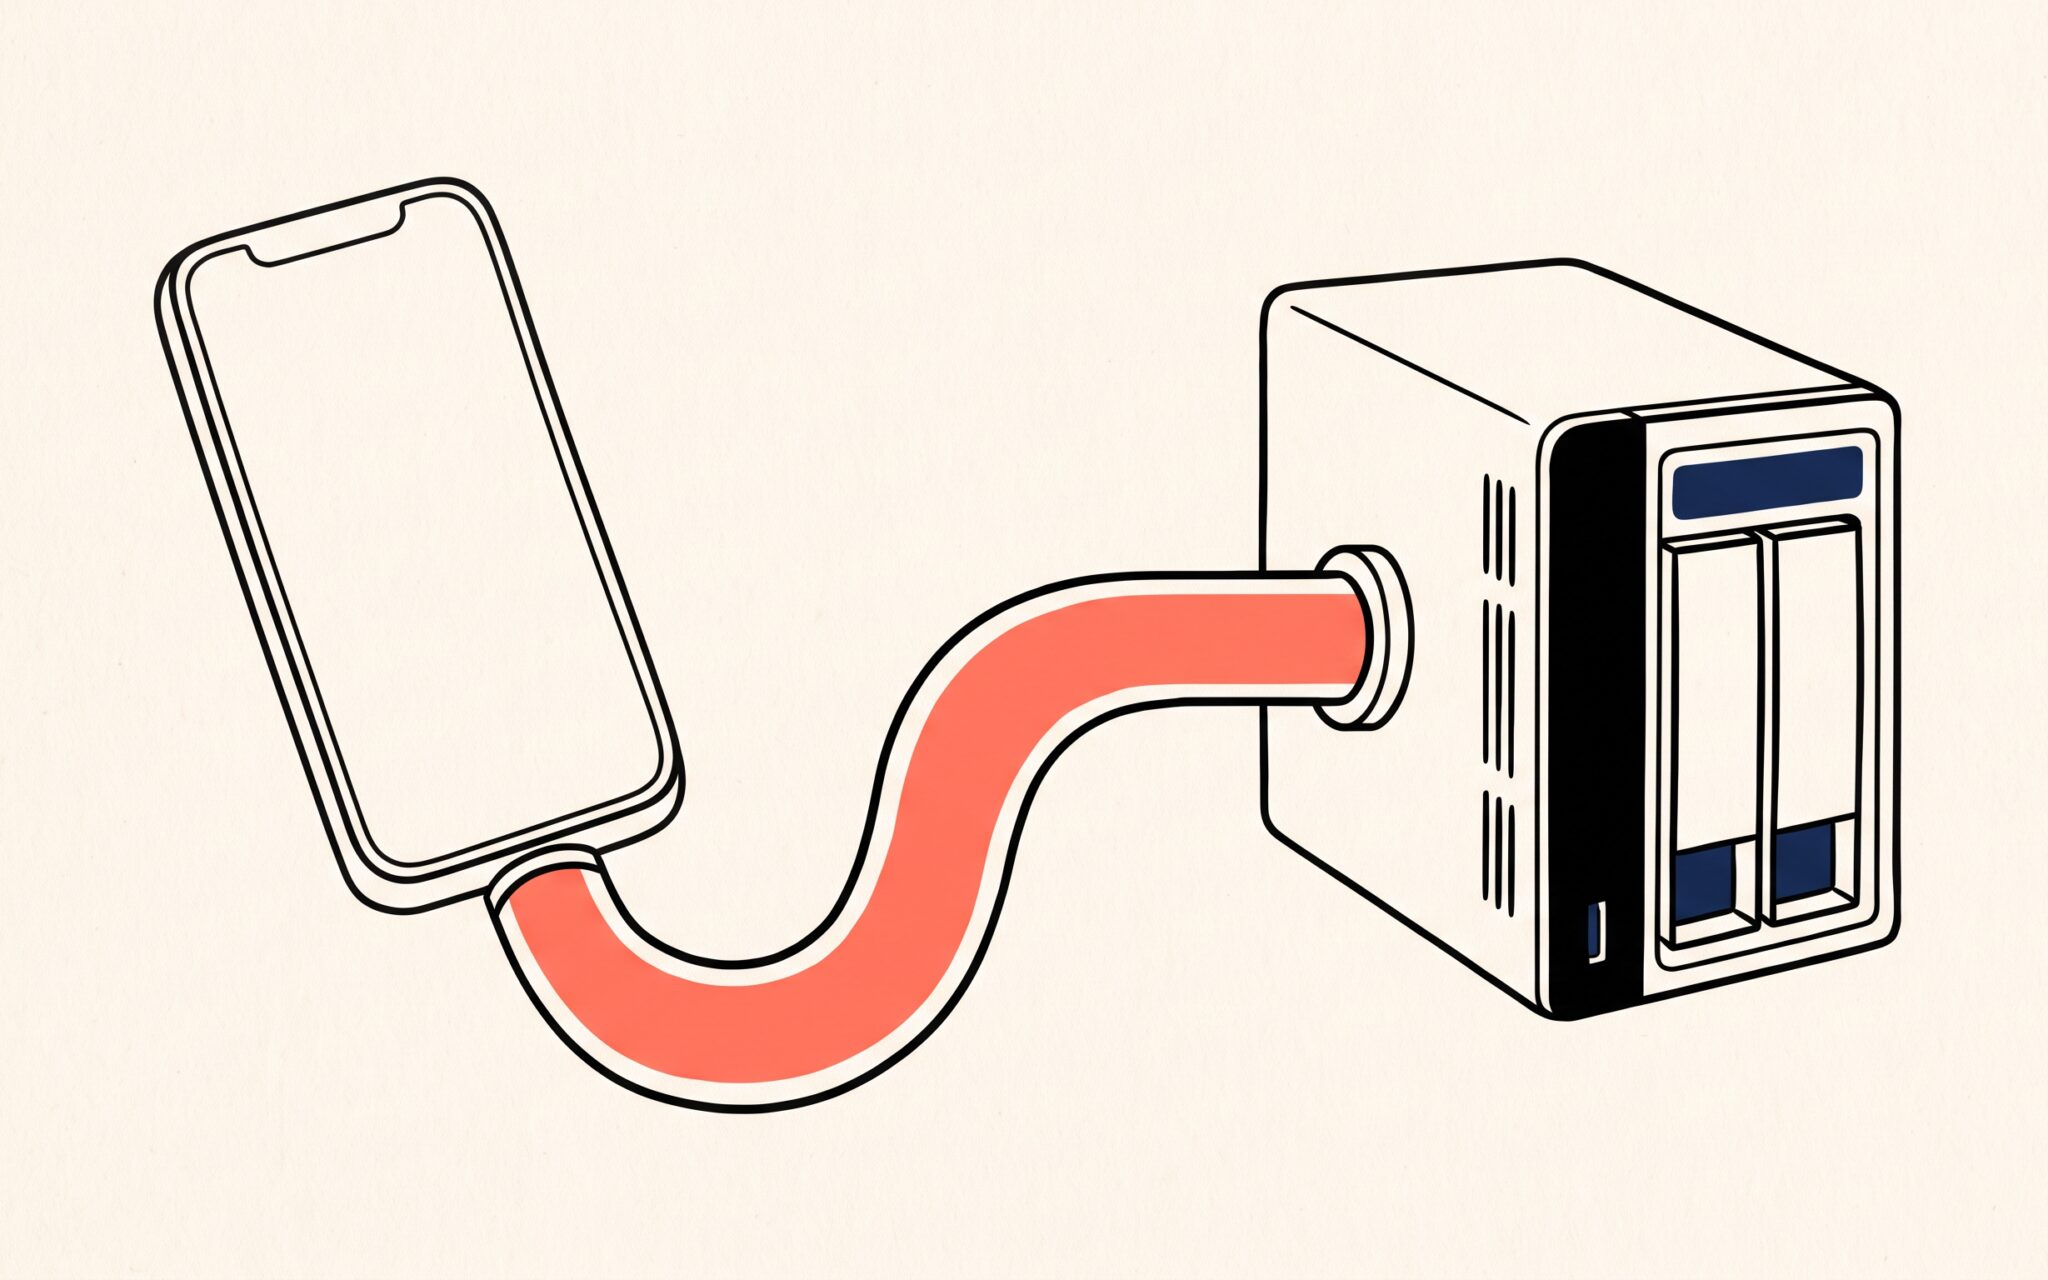
If you have a network-attached storage (NAS) device at home or in the office, you’ve probably wanted to get to its files while you’re away. The traditional approach, forwarding ports on your router so the NAS answers requests from the Internet, is exactly what attackers look for. Synology’s September 18 advisory warned of flaws in its DiskStation Manager (DSM) software that let remote attackers read or write files, and Synology’s own ransomware guidance says not to expose DSM to the Internet unless necessary and to use a VPN for remote file access.
One of the easiest VPNs to set up is Tailscale. It puts your Mac, iPhone, iPad, NAS, and other devices on a private network, which Tailscale calls a tailnet, so they can reach one another from anywhere without any open ports on your router.
What Tailscale Does
Tailscale connects your devices directly using WireGuard, a modern VPN protocol. Each device creates its own encryption keys and shares only the public half through Tailscale’s coordination server, which works like a drop box for those keys. As Tailscale explains, the private key never leaves the device, so traffic between your devices is end-to-end encrypted. When two devices can’t reach each other directly, Tailscale relays the encrypted packets, but it can’t read them.
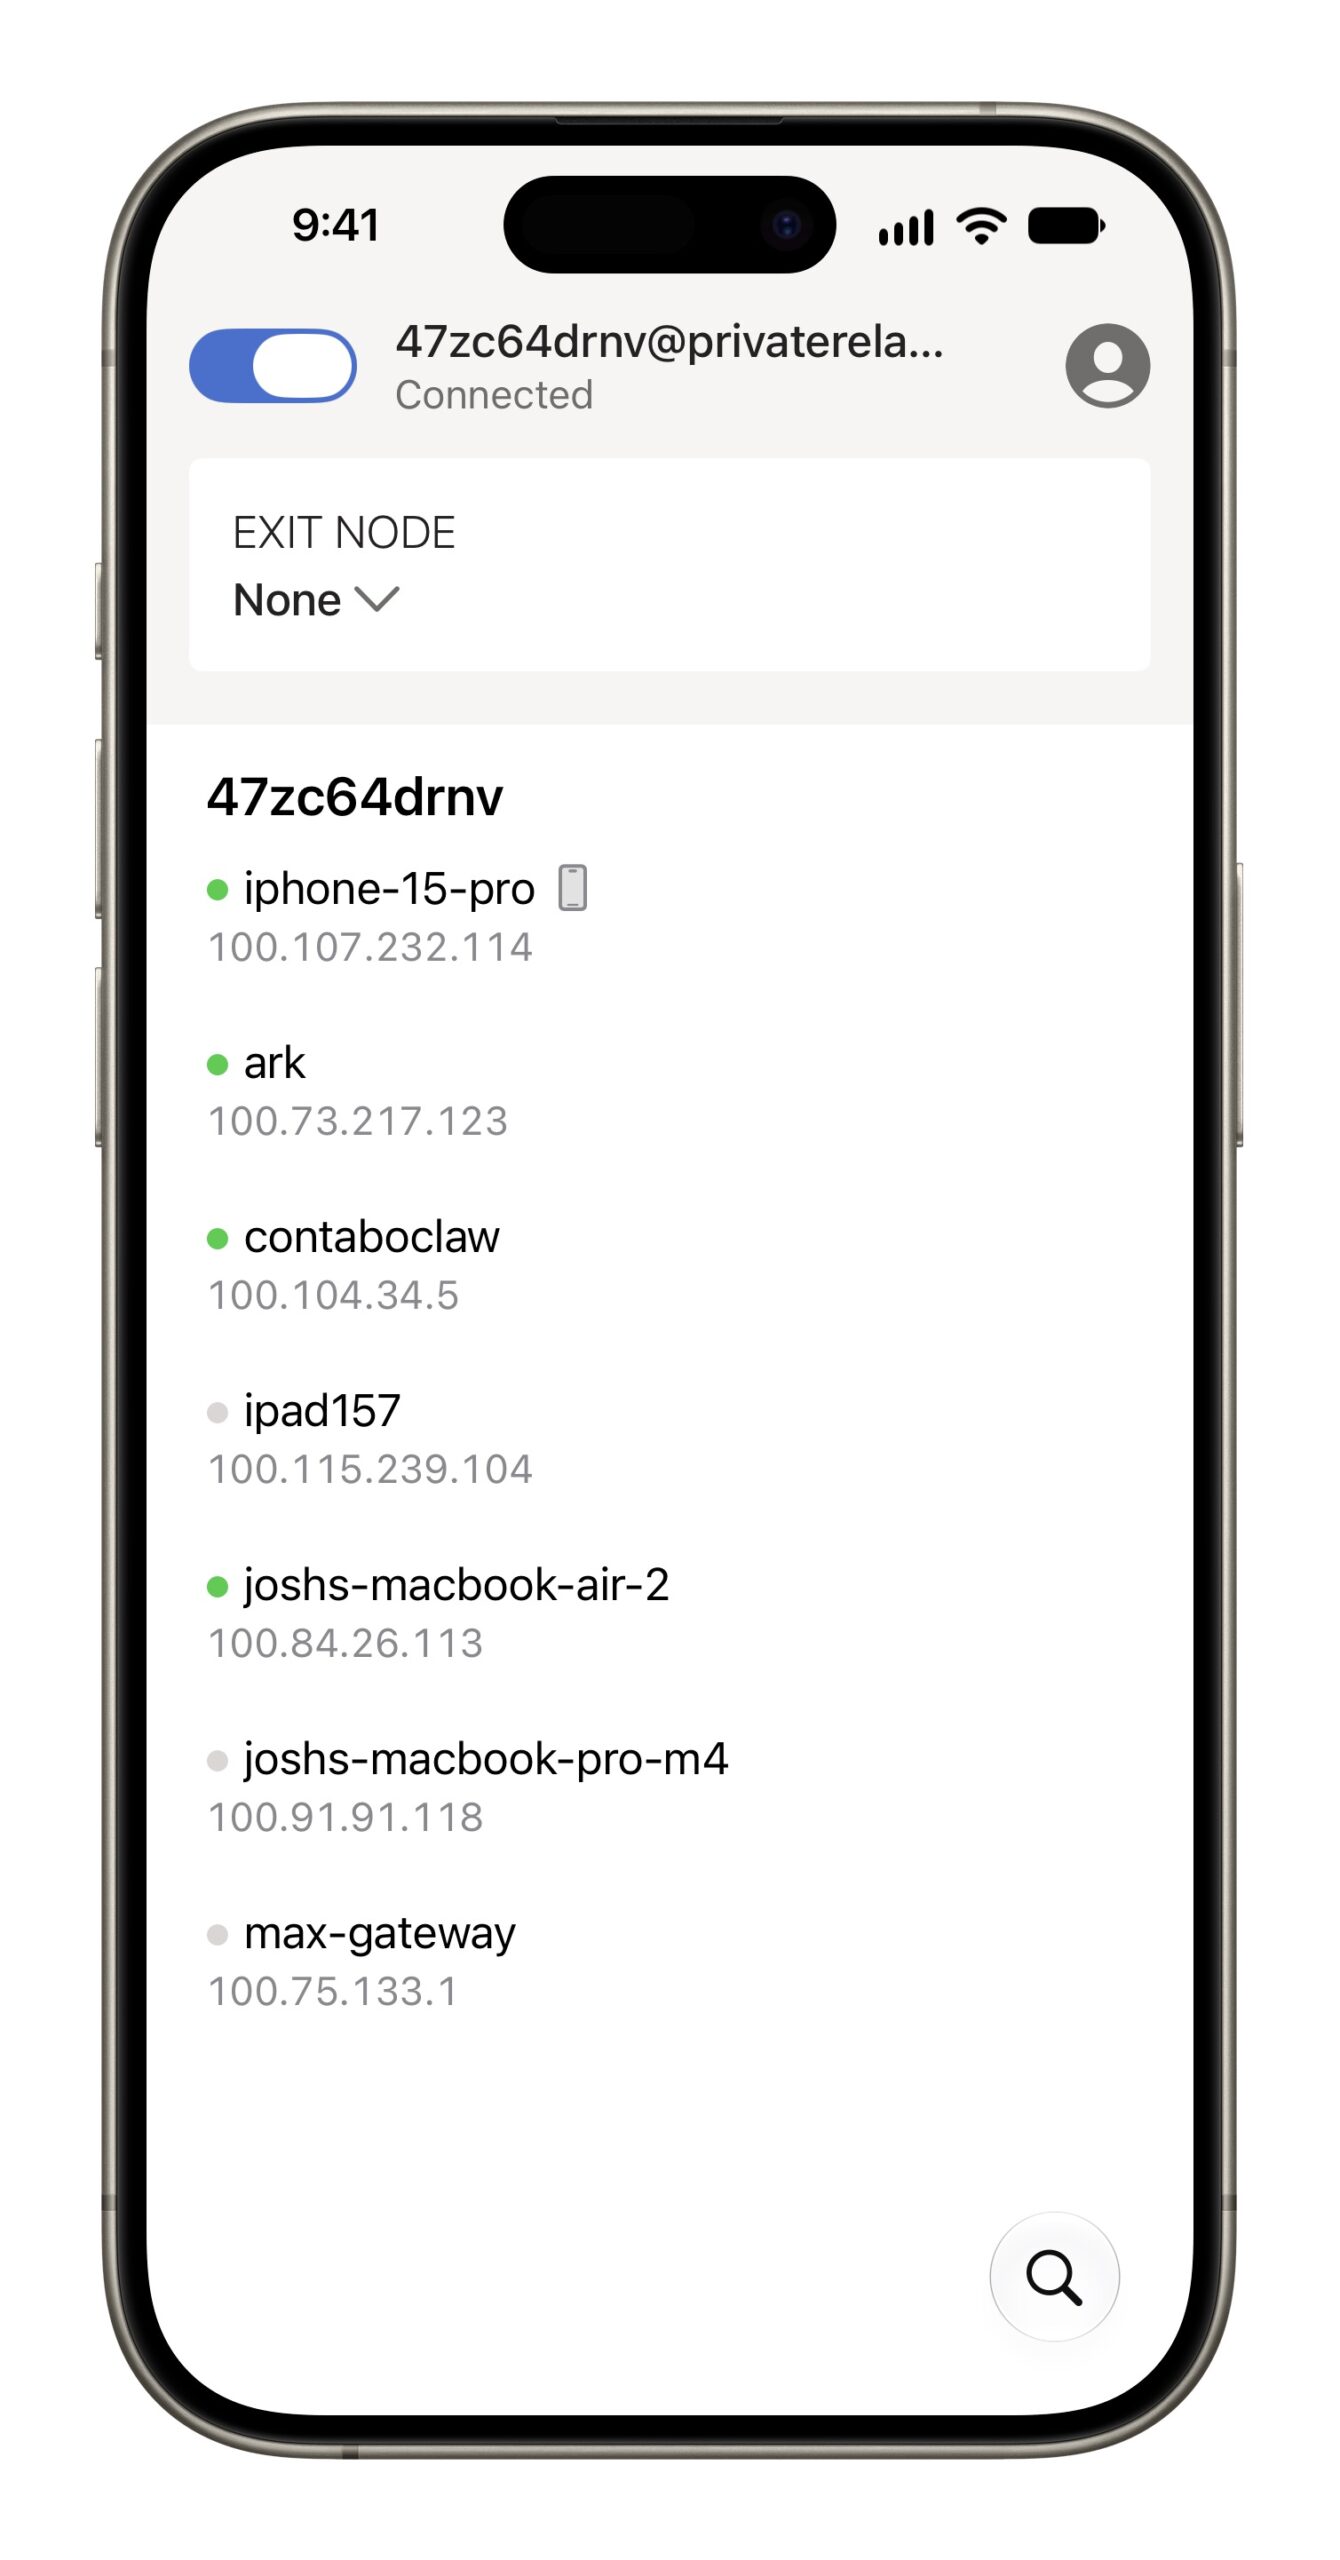
Tailscale isn’t a privacy VPN like the ones advertised on podcasts. By default, it carries only traffic between your own devices and leaves your Web browsing alone. (An optional exit node feature can route all of an iPhone’s Internet traffic through your home Mac or NAS, which is handy on sketchy hotel Wi-Fi.) A feature called MagicDNS, on by default in new tailnets, gives each device a simple name, so you can type diskstation instead of an IP address.
What It Costs
Tailscale’s Personal plan is free for up to 6 users with unlimited devices, and it includes the security features discussed below. But Tailscale says Personal is for individuals using Tailscale at home and is “only suitable for non-commercial use.” If you sign up with a Gmail, Apple, or personal GitHub account, you land on Personal; sign up with a company domain, and Tailscale treats you as a business and starts a 14-day Enterprise trial, after which you pick a plan. Businesses, even small offices, should budget for the Standard plan at $8 per user per month or Premium at $18 per user per month. A person’s own devices, such as their Mac and iPhone, don’t cost extra on any plan. (Servers you add with Tailscale’s tags, rather than under someone’s account, are different: 50 are included, and each additional one costs $1 per month.)
Set It Up on a Mac, iPhone, and iPad
Setup takes a few minutes per device, but the decisions you make at the start matter more than the installation:
- Choose your sign-in account carefully: Tailscale has no passwords of its own. You sign in with Apple, Google, Microsoft, GitHub, Okta, or OneLogin, so whoever controls that account controls your tailnet. Turn on two-factor authentication or a passkey for it first. Choose for the long haul, too, because Tailscale can’t move a tailnet to or from an Apple or GitHub sign-in later. A business should use its Google Workspace or Microsoft 365 accounts so it can manage everyone’s access in one place.
- Install the Standalone app on your Mac: Tailscale recommends its Standalone version, downloaded from its website, over the Mac App Store version because it has fewer limitations, updates itself, and gets security fixes without waiting for App Store review. It requires macOS 13 Ventura or later (the App Store version needs macOS 13.5). Don’t install both versions on the same Mac, since they conflict. Once you’re signed in, Tailscale lives in your menu bar.
- Install the app on your iPhone and iPad: Get Tailscale from the App Store (the current version, 1.104.4, needs iOS 16.6 or iPadOS 16.6 or later), tap Get Started, allow it to add a VPN configuration, allow notifications (it uses them to warn you when you need to sign in again), and tap Log In. iOS and iPadOS allow only one active VPN at a time, so if you also use a privacy VPN or a work VPN, connecting it disconnects Tailscale. To have Tailscale connect whenever you leave home, tap your profile picture in the upper-right corner of the app, tap VPN On Demand, set Wi-Fi to Except On (adding your home network), and set Cellular to Always. (The Mac app offers VPN On Demand too, but on either platform, only one VPN app at a time can use it.)
- Tighten the defaults: In the Tailscale admin console on the Web, open the Device management page and turn on device approval (free on every plan), so no new device joins until you approve it. On the same page, devices must sign in again every 180 days by default, which you can shorten. Most importantly, a new tailnet’s access policy lets every device reach every other device. That’s fine for one person, but once family members or employees join, edit the policy so each person reaches only what they need.
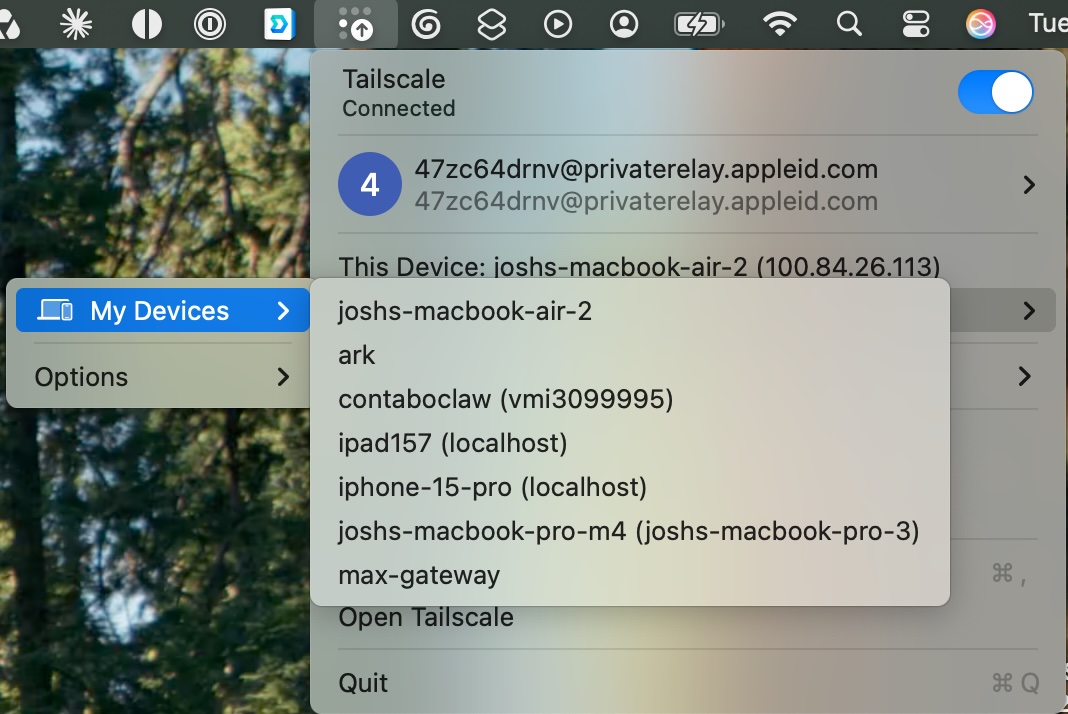
As a bonus, Tailscale’s Taildrop feature sends files between your own devices, even when they’re miles apart. It’s still in alpha, so turn on Send Files in the admin console, and on the Mac, enable Tailscale in System Settings > General > Login Items & Extensions > Sharing.
Reach a Synology NAS
Don’t install Tailscale from Synology’s Package Center. Tailscale’s Synology guide says that copy “is no longer supported and does not reflect the most recently released version.” Instead, go to Tailscale’s package server, choose your NAS model from the menu in the Synology packages section, download the matching package, install it manually in Package Center, and sign in. If you did install Tailscale from the Synology Package Center, you can SSH into the NAS and run sudo tailscale update to update it to the latest version.
Because Package Center won’t update it, create a task in Control Panel > Task Scheduler > Create > Scheduled Task > User-defined script that runs as root daily with the command tailscale update --yes. (On DSM 7, other apps on the NAS can’t reach your devices over Tailscale without an extra boot-up task, but that doesn’t matter if you only need to reach the NAS.)
The NAS has to sign in again on the same schedule as your other devices, and if its key expires while you’re traveling, you’ll lose remote access until someone on your home network signs it back in. To prevent that, open the admin console’s Machines page, click the menu at the far right of the NAS’s row, and choose Disable Key Expiry. Tailscale suggests doing this for trusted servers, but leave key expiry on for Macs, iPhones, and iPads, which are much more likely to be lost or stolen.
With Tailscale connected, choose Go > Connect to Server in the Finder and enter the NAS’s Tailscale name, as in smb://diskstation just as you would at home. On an iPhone, open the Files app, tap Browse, tap More, tap Connect to Server, and enter the same address. (On an iPad, tap the Sidebar button at the top of the Files screen, then the More button at the top of the sidebar.) Choose Registered User, enter your NAS username and password, and tap Next to see the NAS’s shared folders. Time Machine can back up to a NAS that supports Time Machine over SMB, but neither Apple nor Tailscale documents backing up over Tailscale, so check that remote backups complete before you rely on them.
Once remote access works, close what the NAS used before: port forwards on your router, Synology’s QuickConnect, and any dynamic DNS name. Tailscale doesn’t replace DSM updates, though. A compromised Mac on your tailnet could still reach an unpatched NAS, so keep installing DSM updates and check that the Tailscale package is current at the same time.
Reach Your Office Mac
Tailscale works just as well for a Mac at the office (or at home). On that Mac, open System Settings > General > Sharing and turn on Screen Sharing to control it remotely, File Sharing to get at its files, or both. For Screen Sharing, click the Info button and choose “Only these users” from the “Allow access for” menu. File Sharing lets any account on that Mac connect, and an administrator account can reach the entire disk, so sign in remotely with a standard account if you can. The Mac has to stay awake with Tailscale running, so on a desktop Mac, turn on “Prevent automatic sleeping when the display is off” in System Settings > Energy (on a laptop, it’s in System Settings > Battery > Options). And because the Standalone app doesn’t run until someone logs in, a restart (after a power outage, say) cuts you off until someone logs back in.
To connect from another Mac, open the Screen Sharing app (in /Applications/Utilities), click the New Connection button in the toolbar, enter the Mac’s Tailscale name, such as office-imac, and sign in with an account on that Mac. For files, choose Go > Connect to Server in the Finder and enter smb://office-imac, just as with the NAS.
What Can Go Wrong
Tailscale is far safer than open ports, but it has trade-offs:
- Your sign-in account is the key: Anyone who hijacks your Apple, Google, or Microsoft account can add devices to your tailnet, which is why two-factor authentication matters so much. (Device approval doesn’t help if the thief is signed in as you, since you’re the one who approves devices, but Tailnet Lock, described below, does.)
- Every device is a way in: A lost, unlocked iPhone or a Mac with malware can reach whatever the access policy allows. Remove lost devices from the admin console’s Machines page right away. When an employee leaves, disabling their Google or Microsoft account blocks new sign-ins, but their devices stay connected until their keys expire, so also suspend or remove them on the admin console’s Users page. Deleting just their devices isn’t enough, and it doesn’t free up their paid seat. (On the Standard plan and up, a business using Google Workspace or Microsoft 365 can turn on Tailscale’s user and group provisioning, so suspending someone in Google Workspace or disabling them in Microsoft Entra ID suspends them in Tailscale automatically.)
- Tailscale has bugs, too: Tailscale posted six security bulletins between October 13 and 26, 2026. Most involved features ordinary Mac and iPhone users don’t turn on (Tailscale SSH and Serve), and one covered compromised Web certificates, which didn’t affect traffic between your devices. Still, keep Tailscale updated on every device in your tailnet.
- Funnel publishes to the world: Tailscale’s Funnel feature makes a service on your device available “for anyone to access—even if they don’t use Tailscale.” Don’t turn it on unless that’s your goal.
- Tailscale sees metadata: Its privacy policy says it can’t access the contents of your traffic, but it does collect device names, IP addresses, and logs of which devices connect. The Mac apps don’t let you turn off that logging, though the iPhone and iPad app can, in its Bug Report menu.
For extra protection, Tailscale offers Tailnet Lock, which requires your own trusted devices to approve new ones, so even a breach of Tailscale’s servers couldn’t add a device to your tailnet. Tailscale’s documentation lists it for the Personal and Enterprise plans, not Standard or Premium. It requires two signing devices and a Terminal command to set up, and if you lose the secrets it generates for turning it off (and didn’t opt to give one to Tailscale support during setup), your tailnet can’t be recovered, so it’s best left to someone comfortable with that responsibility.
Tailscale doesn’t back up your data or stop malware, so keep your backups and security software in place. If you’d like help moving your NAS off port forwarding, choosing a plan for your office, or writing an access policy that keeps everyone in their lane, please contact us.
(Featured image by Trusted Content Network)
Social Media: Want to reach your NAS or office Mac from anywhere without opening it to the Internet? Tailscale makes that easy and is free for personal use, but setting it up safely takes a few extra steps.