Recent versions of the Kasa app require you to have a TP-Link account to adopt them. This wasn’t always the case, and many of us chose this brand specifically because we didn’t need to hand over our credentials to make the devices work. Thanks to a huge amount of work by many people, this was made pretty easy for me, so I am contributing back by attempting to make all of the steps really clear.
Thanks to TP-Link for allowing this, I’m not 100% comfortable with congratulating a company that actively tried to cut this route off, but credit where it is due for continuing (even in a small way) to privacy for their users.
Install the Add-On
In Home Assistant, go to Settings, Add-Ons, Add-On Store and add the TP-Link add on.
Unbox the device, in our case it is a KP-303 WiFi Power Strip. turn it on and wait for it to boot.
Install Required Software
On your local computer, open Terminal and install Python-Kasa using
pip install python-kasa
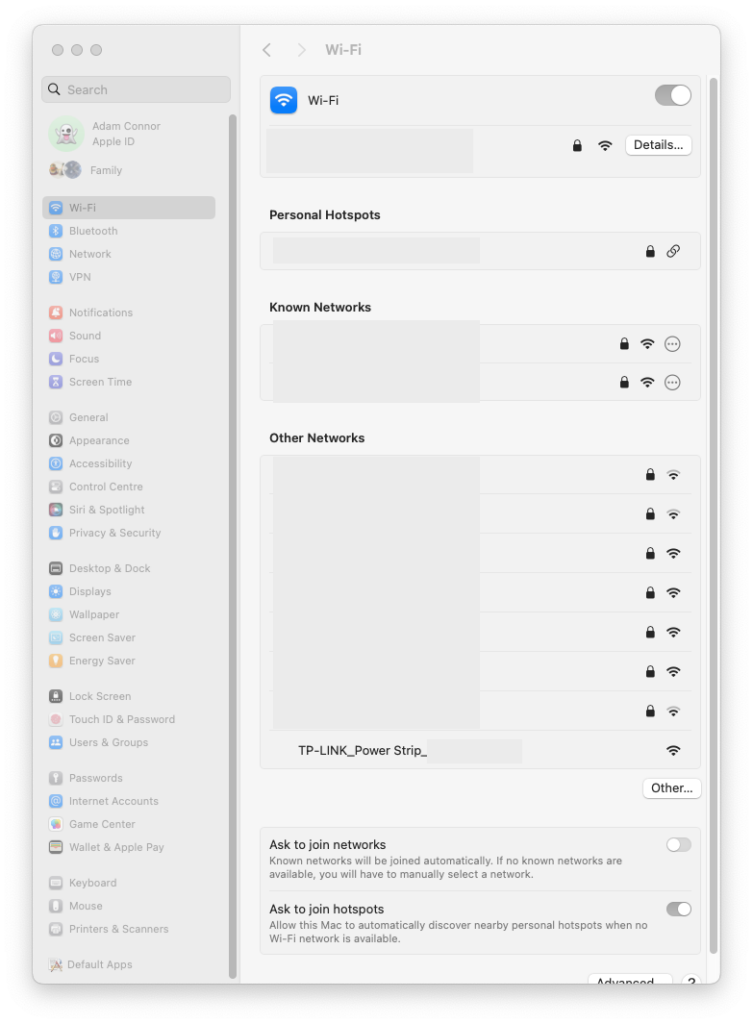
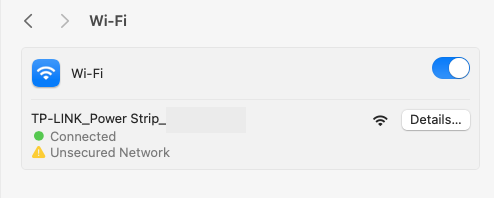
Go to your WiFi settings and connect to the KP-303, in our case it has an open WiFi network called something like ‘TP-LINK_Power Strip_823E’
– Connect to that network
Connect to Device
Check the new WiFi connection, you’ll probably find that your WiFi connection has been given the IP address 192.168.0.100 and the router is listed as 192.168.0.1
This means the power strip is 192.168.0.1
You can simply use the command ‘kasa’ to run a discovery pass, but it will probably fail if your computer is also connected to ethernet as its main network. Instead target the correct network by running
kasa --target 192.168.0.255 discover
And you should get back a whole bunch of info about your power strip.
Connect Device to IOT Network
Next connect that strip to your WiFi network by issuing
kasa --host 192.168.0.1 wifi join "Internet of Things"
Where “Internet of Things” is your IOT network (you can leave out the quotation marks if your IOT network does not have spaces in its name).
Add the password and your power strip is adopted and on your WiFi!
Add Device to Home Assistant
The last thing to do is get it into Home Assistant.
Open Home Assistant, go to Settings, Devices & Services and search for ‘TP-Link Kasa Smart’.
Click on that, then click ‘Add Entry’, (don’t add details to ‘Host’) and click ‘Submit’.
This should find your power strip, click ‘Submit’ again and you should get a success message- you can now set the Location, hit ‘Submit’ again and it’s ready for use!

If you have multiples you can also update the name once imported.
Now you have total power over your power!