This post was brought about by a really odd case we had in our network. We run a Synology DS1817+ for backups. It’s ideal for the job- loads of drive slots, can take a 10Gb-e card, and up to 16GB RAM. And in RAID 6 with 10TB drives it will have nearly 60TB of space!
We’ve had really good results with the Seagate Ironwolf 10TB drives, at least until now. We had one fail in our Synology DS918+ that we use for movies, that box was in a RAID 5 configuration, and it was a butt clenching couple of days waiting for that to rebuild, but it ultimately came back perfectly. I think We’ll change that one to RAID 6…
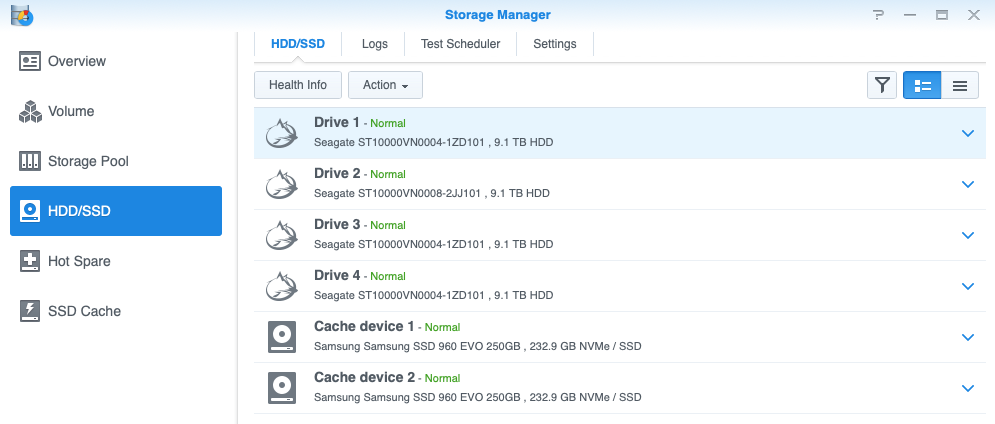
I’ve been monitoring one of the other drives in the Backup NAS. This one had 16 bad blocks. Now for a client we’d normally move mountains to get any drive with bad blocks replaced, but as the data on that particular NAS could disappear without any ill effects we decided to just keep watching. Then last week it went from 16 bad blocks to 5300 in 5 days!
I sent in a screenshot to our supplier, who replied that they couldn’t replace it unless it was showing as ‘failing’ by the SMART status or the Ironwolf Health Tools.
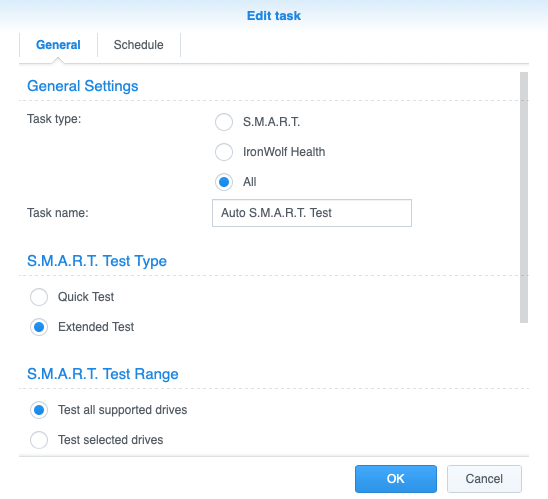
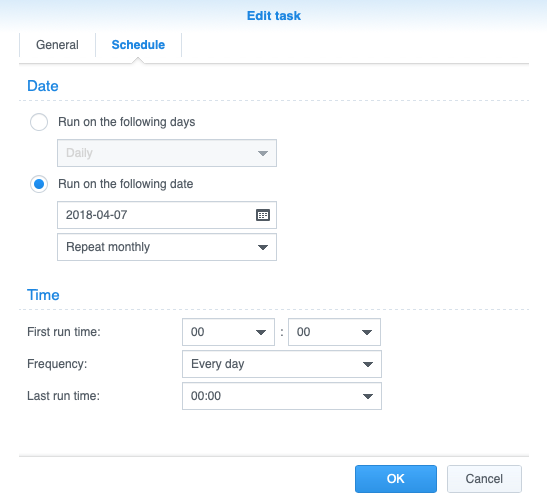
I wasn’t happy with that answer, but I went poking around and found that when setting up we’d activated and scheduled the health check, but had not gone to the next screen and selected which drives to do the health check on! A rookie error that is now fixed, but it does show you how important it is to have a well written procedure and follow it properly when setting things up.
I ran the test that hadn’t triggered automatically, the drive immediately went into failure mode. And our supplier agreed to replace it but didn’t have any stock. I then went through our process for pulling the drive-
- Select the failing drive in DSM and set it to flash the warning light
- Physically mark the drive bay
- Go into DSM and ‘Deactivate’ the drive
- Pull the drive out
In this case I’ve also shut down the NAS. No point stressing the poor thing for the next couple of days while we wait for the replacement drive. Having no local backup of some machines for a couple of days is not as important as making sure we have a backup that we can restore from…
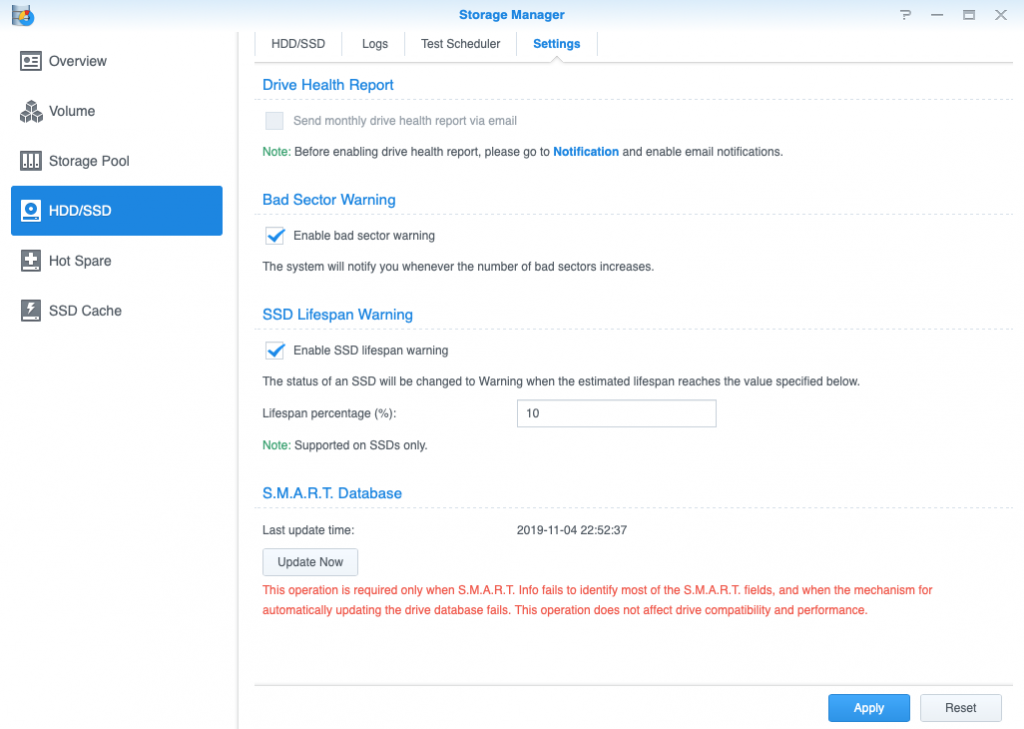
Here’s a few pics showing the setup-